Time:2025-12-12 Views:0

Stamping part in-process inspection (IPI) is a critical quality control step conducted during the stamping production process—between raw material feeding and final product assembly—to identify defects early, prevent the spread of non-conforming parts, and ensure consistency in manufacturing. Unlike incoming inspection (for raw materials) or 成品检验 (for final products), IPI focuses on catching issues that arise during stamping operations, such as tool wear, misalignment, or material deformation, which can escalate into costly batch failures if left unaddressed.
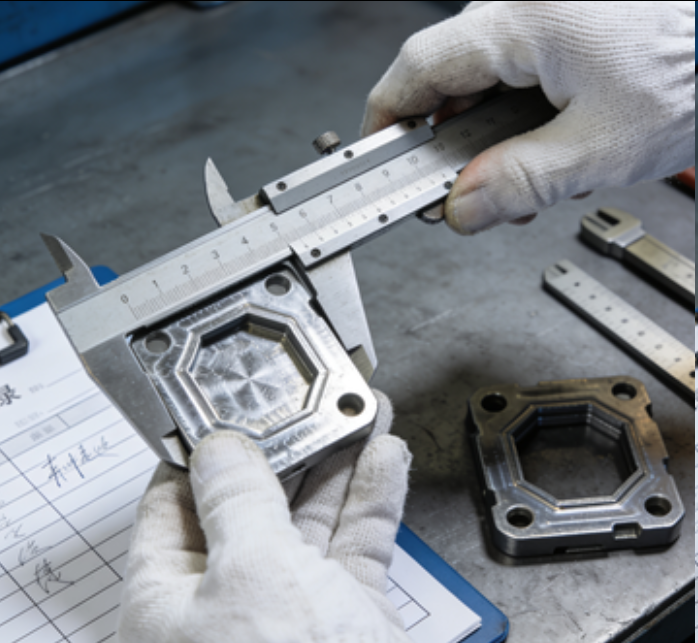
The IPI process is scheduled at key production stages, depending on the stamping complexity. For simple parts (e.g., flat washers), inspection may occur every 100–200 parts; for complex parts (e.g., automotive door hinges with multiple forming steps), it is performed after each critical operation (blanking, bending, drawing). Inspectors use a combination of tools and methods: first, visual inspection to check for surface defects like cracks, wrinkles, or burrs (common after bending or punching). They then verify dimensional accuracy using go/no-go gauges (for simple dimensions like hole diameter) or digital calipers (for thickness or length, with tolerances as tight as ±0.02mm). For parts requiring precise shape, coordinate measuring machines (CMMs) are used to compare the in-process part to the 3D design model, ensuring alignment with features like mounting holes or edges.
Another key aspect of IPI is process parameter monitoring. Inspectors check stamping machine settings—such as pressure, speed, and die temperature—to ensure they match the predefined process window. For example, excessive stamping pressure can cause material thinning or die damage, while insufficient pressure leads to incomplete forming. If a defect is detected (e.g., a bent edge outside tolerance), production is paused immediately to identify the root cause (e.g., die misalignment or worn tooling). Corrective actions—such as adjusting machine settings or replacing tools—are implemented before production resumes. IPI records are documented in real time, including part serial numbers, inspection results, and any adjustments made, ensuring full traceability. By catching defects early, IPI reduces scrap rates, minimizes rework costs, and maintains consistent quality throughout the stamping process.